Setting up a Blue Net Pop account in iPhone
April 12th, 2013 adminThese settings apply in iPhone, iPhone 3/3g, iPhone 4/4s, and iPhone 5. I will be using my Bluenet account for this guide, just change it into your corresponding emails and passwords.
1. Go to Settings, select Mail, Contacts, Calendars.

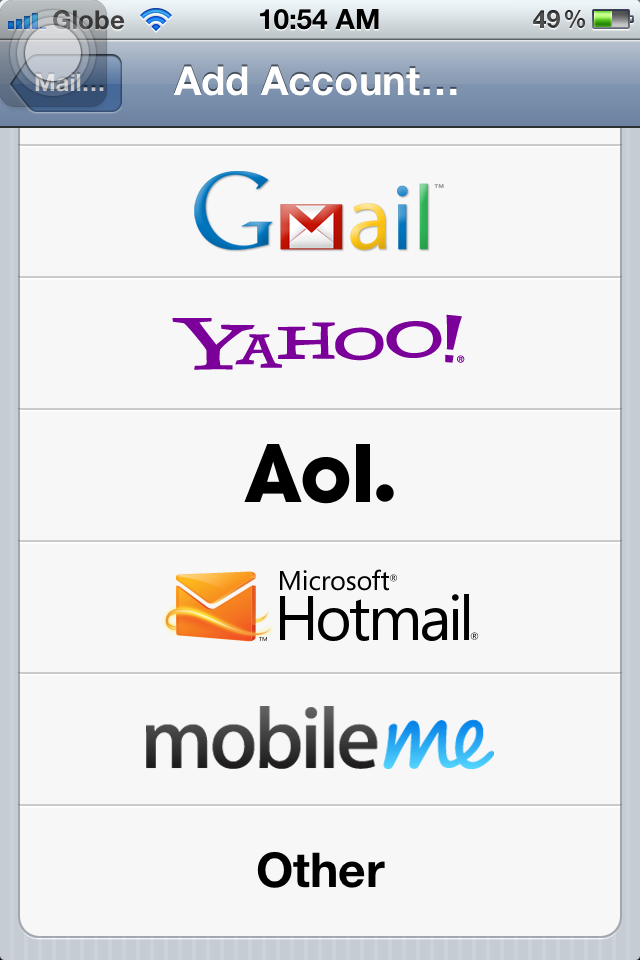
2. Tap Add Account…

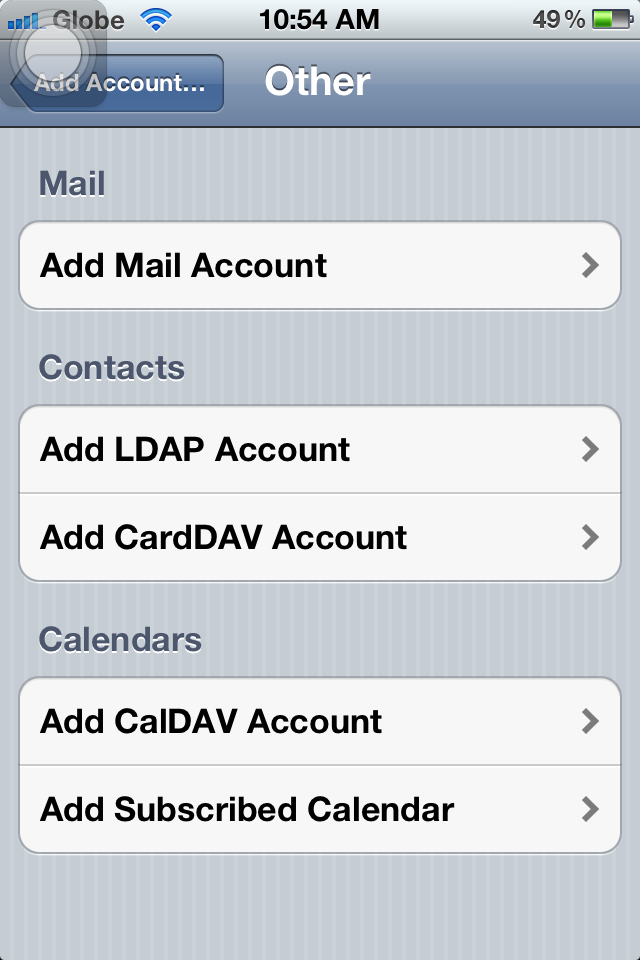
3. Select Other
4. Tap Add Mail Account
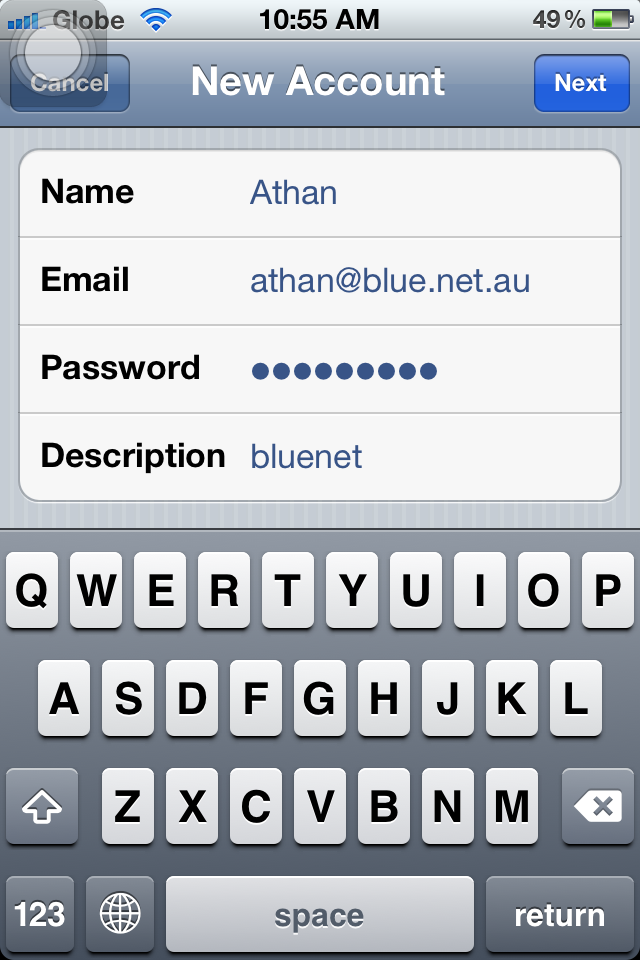
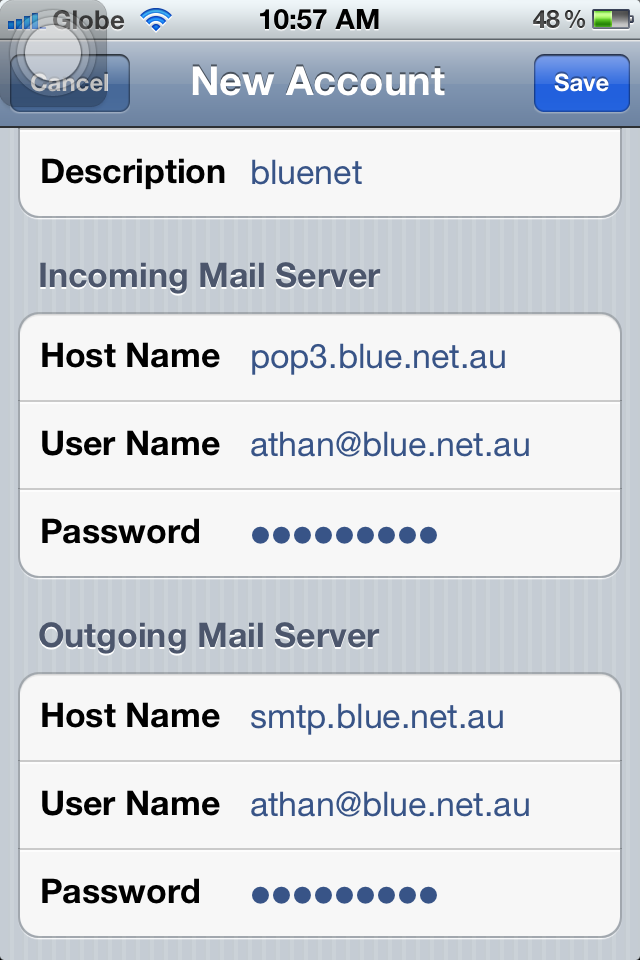
5. On this screen, please fill in your details (Description can be your name, or company name, or anything you’d like to put). Tap Next when you are done.
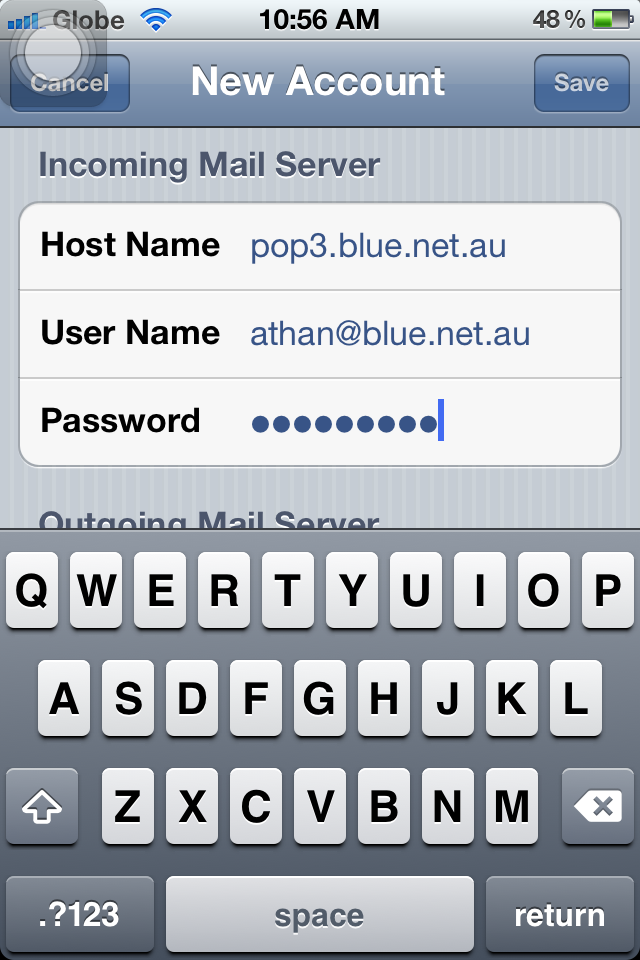
6. Select POP, then proceed with typing the Incoming Mail Server settings.

6a. Host name should always be “pop3.blue.net.au” and do not forget to type your username, which is your complete email address, and your password.
6b. Now for the outgoing, it should be “smtp.blue.net.au”, then proceed with your email and password. Tap Save (upper-right) when you’re done.
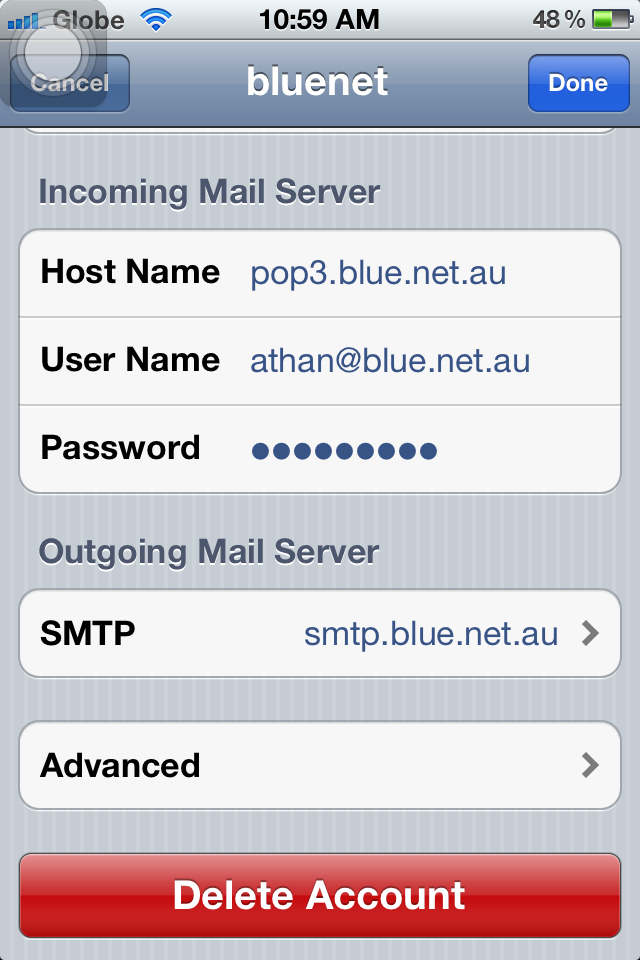
7. Upon saving the settings, it should normally give you an error. You will be back on the “Other” window, simply tap on your email account to change the settings. From there, go to “Advanced”.
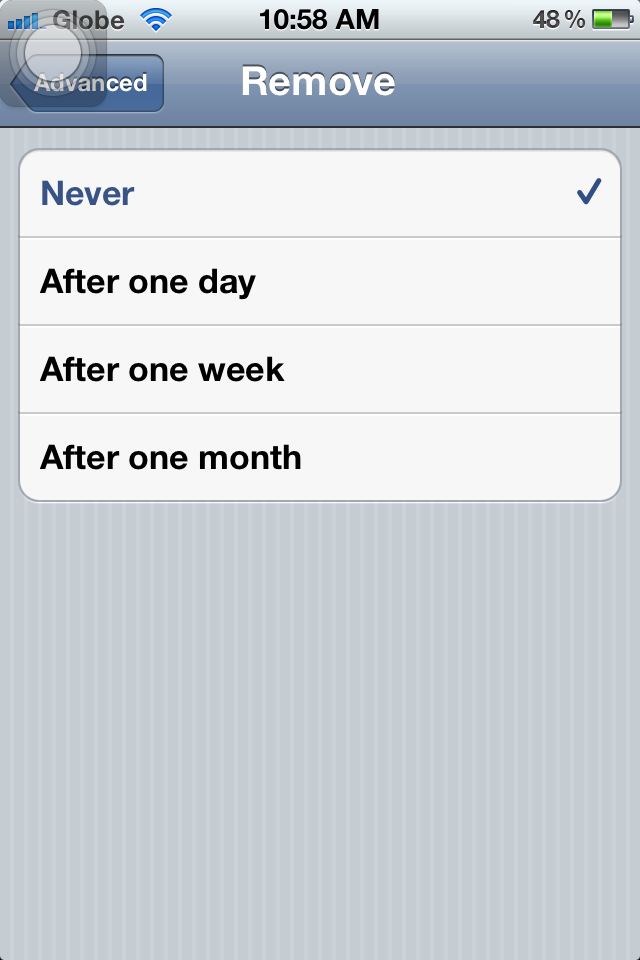
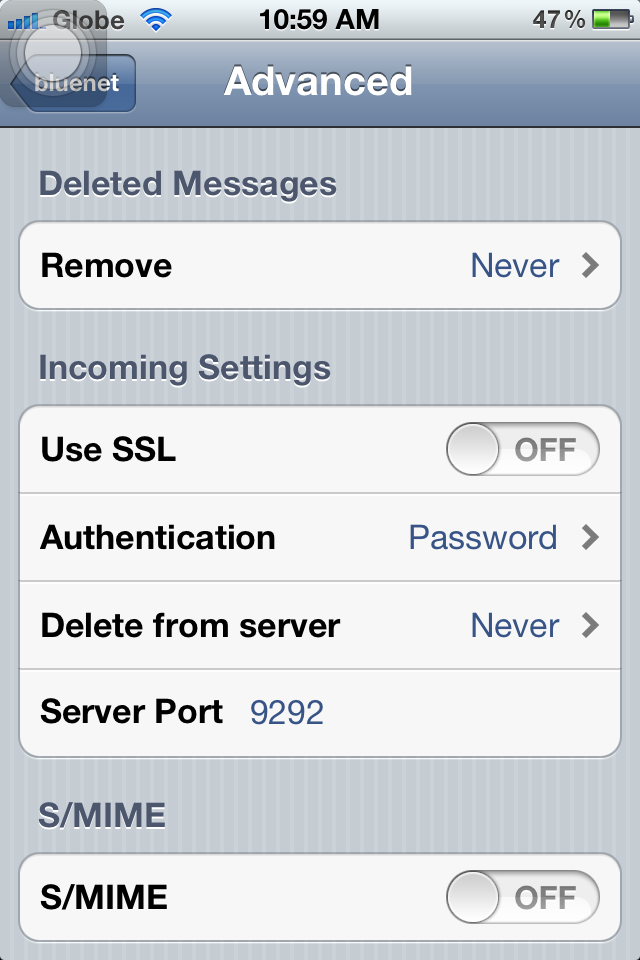
7a. Make sure Deleted Messages are set to “Never” as seen below. You can always delete the messages on your computer in case you need to retrieve important emails that were deleted.

7b. On this window, set the option “Delete from server” to “Never” so you can download the messages also on your computer and other devices. If not, you will only be able to download this on your iPhone but not on other devices.

7c. SSL should be turned OFF under Incoming Settings, leave Authentication to Password. Server port should be set to “9292”.
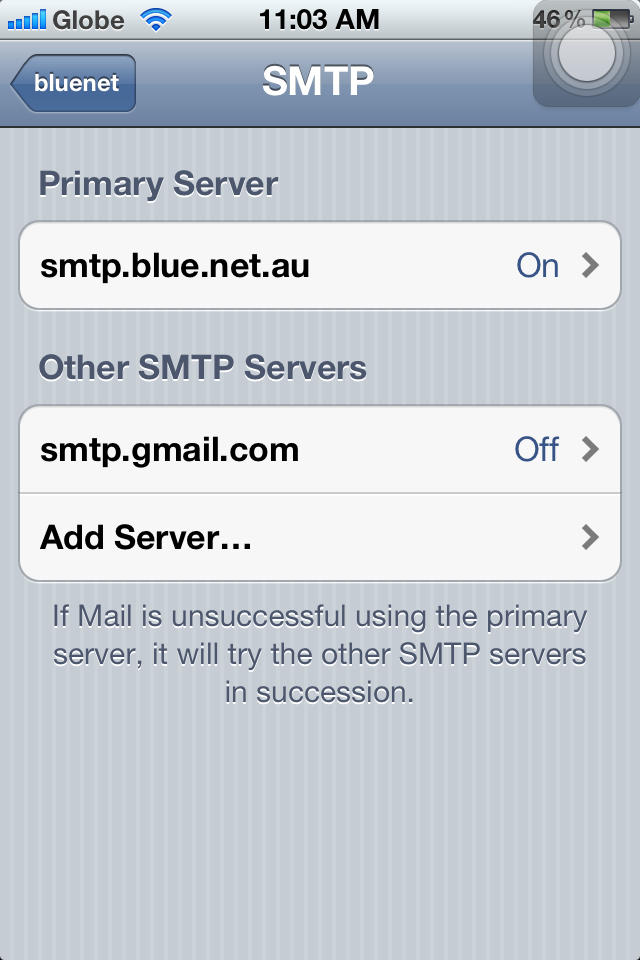
8. Tap SMTP to change its settings.

8a. Tap “smtp.blue.net.au” to change its settings.
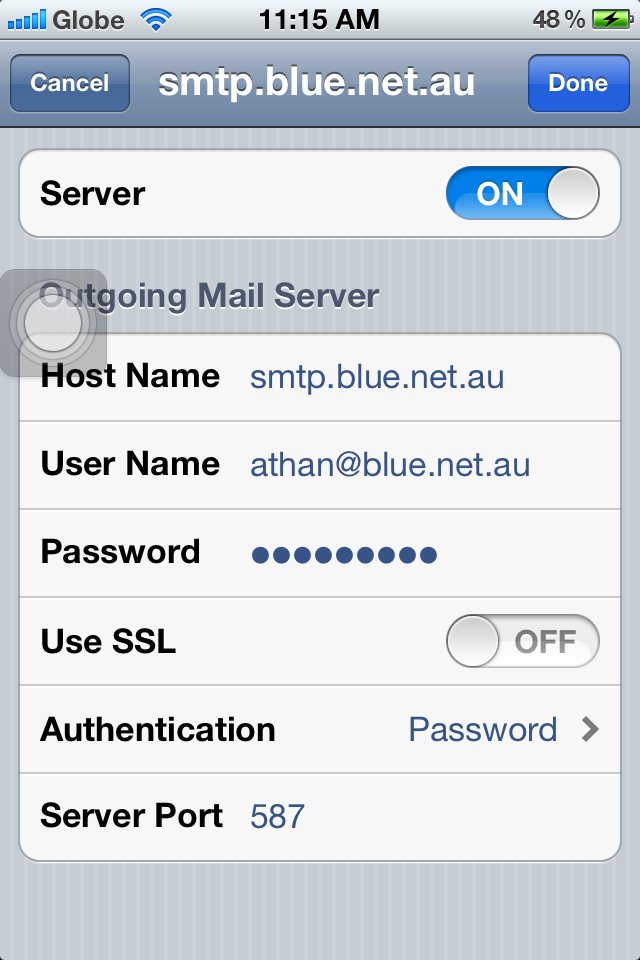
8b. Server should be ON. Check the host name (should be smtp.blue.net.au), and your username and password as well. SSL should also be OFF, Authentication to Password, and Server Port should be 587. Click Done.
You can exit Settings and open your Mail to start downloading the messages.