Changing POP3 email password
July 28th, 2011 adminPlease review this video for instructions to how to change your POP3 email password:
http://support.blue.net.au/video/pop3-email-user-password-change.swf
Please review this video for instructions to how to change your POP3 email password:
http://support.blue.net.au/video/pop3-email-user-password-change.swf
I beleive this only works with Outlook 2007 and later.
To attach a data file to existing email/personal folders in Outlook:
Tools>Account Options/Settings>Data Files..
Find the one you want and check where it is located
Go to:
File>Open>Data file…
Navigate to directory that we found in the step above, select the data file (or .pst file) and and click open
This will load it on the left along with your personal folder and inboxes.
__________________________________________________________
If you are trying to do this on an earlier version of Outlook, there is another way to do this.
Go to Control Panel>Mail
Click the Data Files button
When the window pops up click on ‘Add…’
Navigate to directory that we found in window that popped up before, select the data file (or .pst file) and and click open
This should have the same result as above and is a bit quicker.
OG
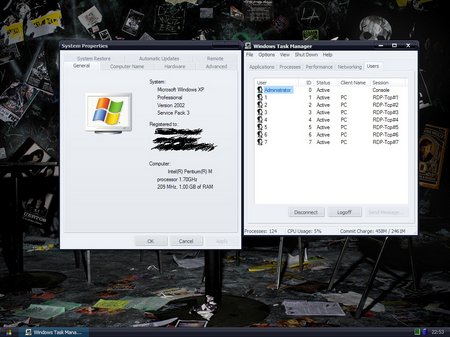
This patch will enable two or more concurrent sessions in Windows XP PRO Service Pack 2 (SP2) and Service Pack 3 (SP3) if you have FAST USER SWITCHING enabled, and your windows is NOT in a domain.
Uninstaller is also included and can be found at windows Control Panel -> Add or Remove Programs.
Windows XP PRO SP2 screenshot
<missing>
Windows XP PRO SP3 screenshot
Download Outdated 1.0 Binary
Originally from http://www.kood.org/terminal-server-patch/
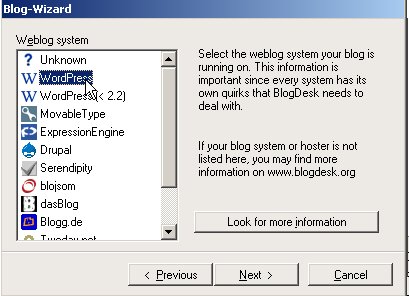
If you are having an issue with outlook opening for a split second and then closing and have recently installed iTunes 10 use the following instructions to fix it:
Resolution
iTunes will sync with Microsoft Outlook 2003, Microsoft Outlook 2007, or Microsoft Outlook 2010. If you use Microsoft Outlook 2000, you can resolve this issue by renaming the “OutlookChangeNotifierAddIn.dll” file. This file can be renamed however you choose, and is found in the following default location depending on your operating system:
* Windows XP, Windows Vista (32-bit) or Windows 7 (32-bit):
C:\Program Files\Common Files\Apple\Mobile Device Support\OutlookChangeNotifierAddIn.dll
* Windows Vista (64-bit) or Windows 7 (64-bit):
C:\Program Files (x86)\Common Files\Apple\Mobile Device Support\OutlookChangeNotifierAddIn.dll
If you install Microsoft Outlook 2003, Microsoft Outlook 2007, or Microsoft Outlook 2010 after renaming this file, you may need to reinstall iTunes 10 before being able to sync Contacts, Calendars, email account information, or Notes.
Download BlogDesk:
http://www.blogdesk.org/en/download.htm
and install on your windows computer and start program.
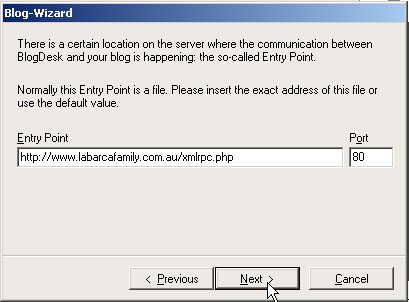
Go to FILE / MANAGE BLOGS and click on NEW:
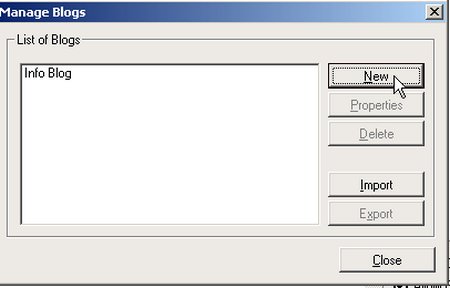
Give it a name and click next
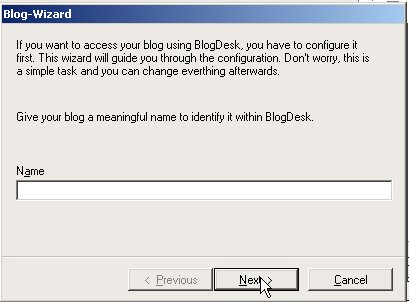
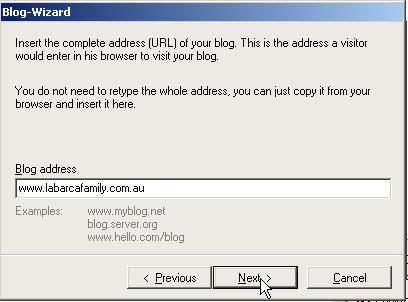
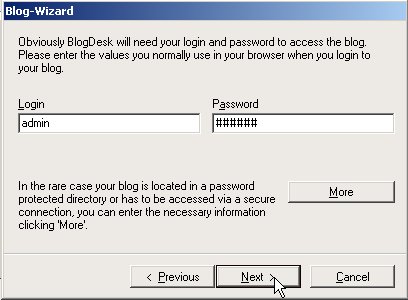
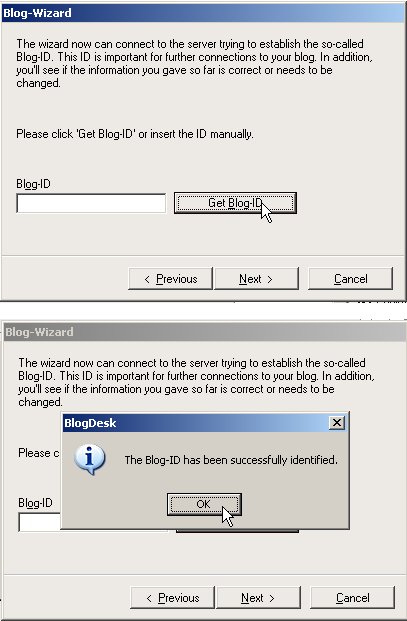
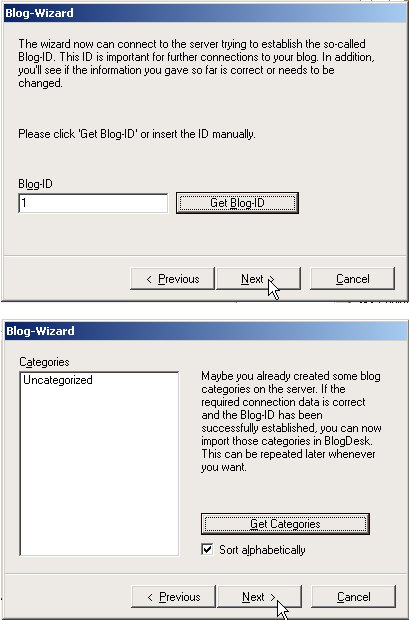
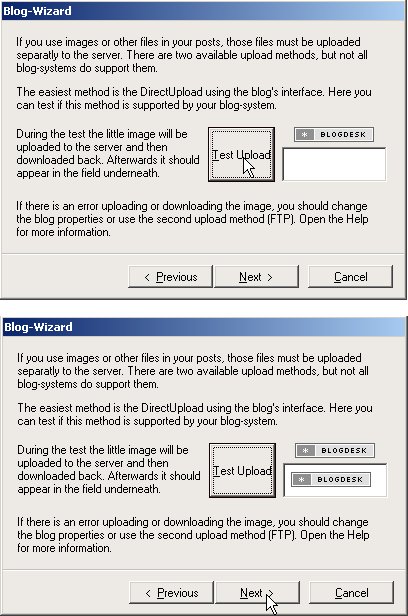
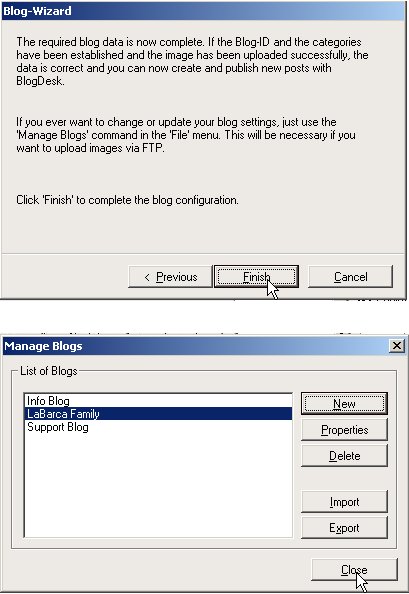
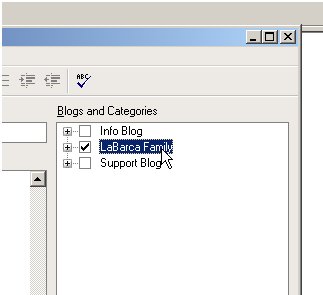
Then you can start using BlogDesk
Use the HELP for more information.
This application will let you share your Windows machine’s desktop with others.
The method varies in different versions of Outlook. To determine which version you have, first click on Help then click on About Outlook.
Outlook 2010 and Outlook 2013
Note : This option has been removed from the context (right click) menu in Outlook 2010 and also doesn’t exist in Outlook 2013 but there are alternative ways to access the dialog still and see the Internet headers of that message.
By opening the message first
If you open the message in its own window (via a double click), then you can access the Message Options of that message via;
File-> Info-> button: Properties
By leaving the message closed
If you do not want to open the message first, but want to access the Message Options dialog directly from within the main Outlook window, then you can add the Message Options command to your Quick Access Toolbar;
File-> Options
Select the Quick Access Toolbar on the left.
Set the “Choose commands from” dropdown list to; Commands Not in the Ribbon
From the command list select; Message Options…
Press the “Add > >” button.
Press OK.
The option is now added to the Quick Access Toolbar at the top of your Outlook window and view the Internet headers of a message without needing to open it first.
Add the Message Options command to the QAT to view the Internet headers of a message without needing to open it.
Note: Since the Message Options command is now in the Quick Access Toolbar, you can also use a keyboard shortcut to use it. Press the ALT key on your keyboard and then press the number that floats above the Message Options icon to activate it.
Outlook 2000/XP
Right-click on the message in the folder view, then choose Options.
or
In an open message, choose View then choose Options.
You can view the headers in the Internet headers section of the Message Options dialog.
Outlook 98
In an open message, choose View then choose Options. You can view the headers in the Internet headers section of the Message Options dialog.
Outlook 97
Open the message. Look for Internet headers on the Options tab. If you don’t see the Options tab, choose View then choose Message Header.
or
Open the message in the folder view or open the message. Choose File then choose Properties. Switch to the Internet tab. If you don’t see the Internet tab choose Tools then choose Options. Switch to the General tab. Click on the Add-In Manager button. Click on Add. Select Minet.ecf. Close all the dialog boxes. You should now be able to view the Internet tab.
Copying/Pasting the headers
In all these cases, you can select the headers with your mouse and type Ctrl-c to copy them. You can then compose a new message and paste them in with Ctrl-v.